TaskCam Software
TaskCams use an Arduino to control the camera, screen, and read button presses on the TaskCam Arduino Shield. When you first set up your TaskCams, you need to upload the program to the Arduino.
Step 1
Download the correct Arduino Software for your operating system from this page.
Step 2
Download the TaskCam's default program from here.
Step 3
Once Arduino is installed, open the TaskCam Arduino program you downloaded in step 2. In order for it to work properly, we need to install a library for the screen. Go to Sketch > Include Library > Manage Libraries. Once the window finishes loading, search for Adafruit GFX Library (see screenshot below). Click on it, select Version 1.2.8 and click install. Close the Library Manager window and return to the TaskCam Arduino program you opened earlier.
Step 4
Download our custom version of the ‘Adafruit_SSD1306’ library from here. You don’t need to unzip the file. In Arduino, go to Sketch > Include Library > Add .ZIP Library and navigate to the Adafruit_SSD1306 zip file you downloaded.
Step 5
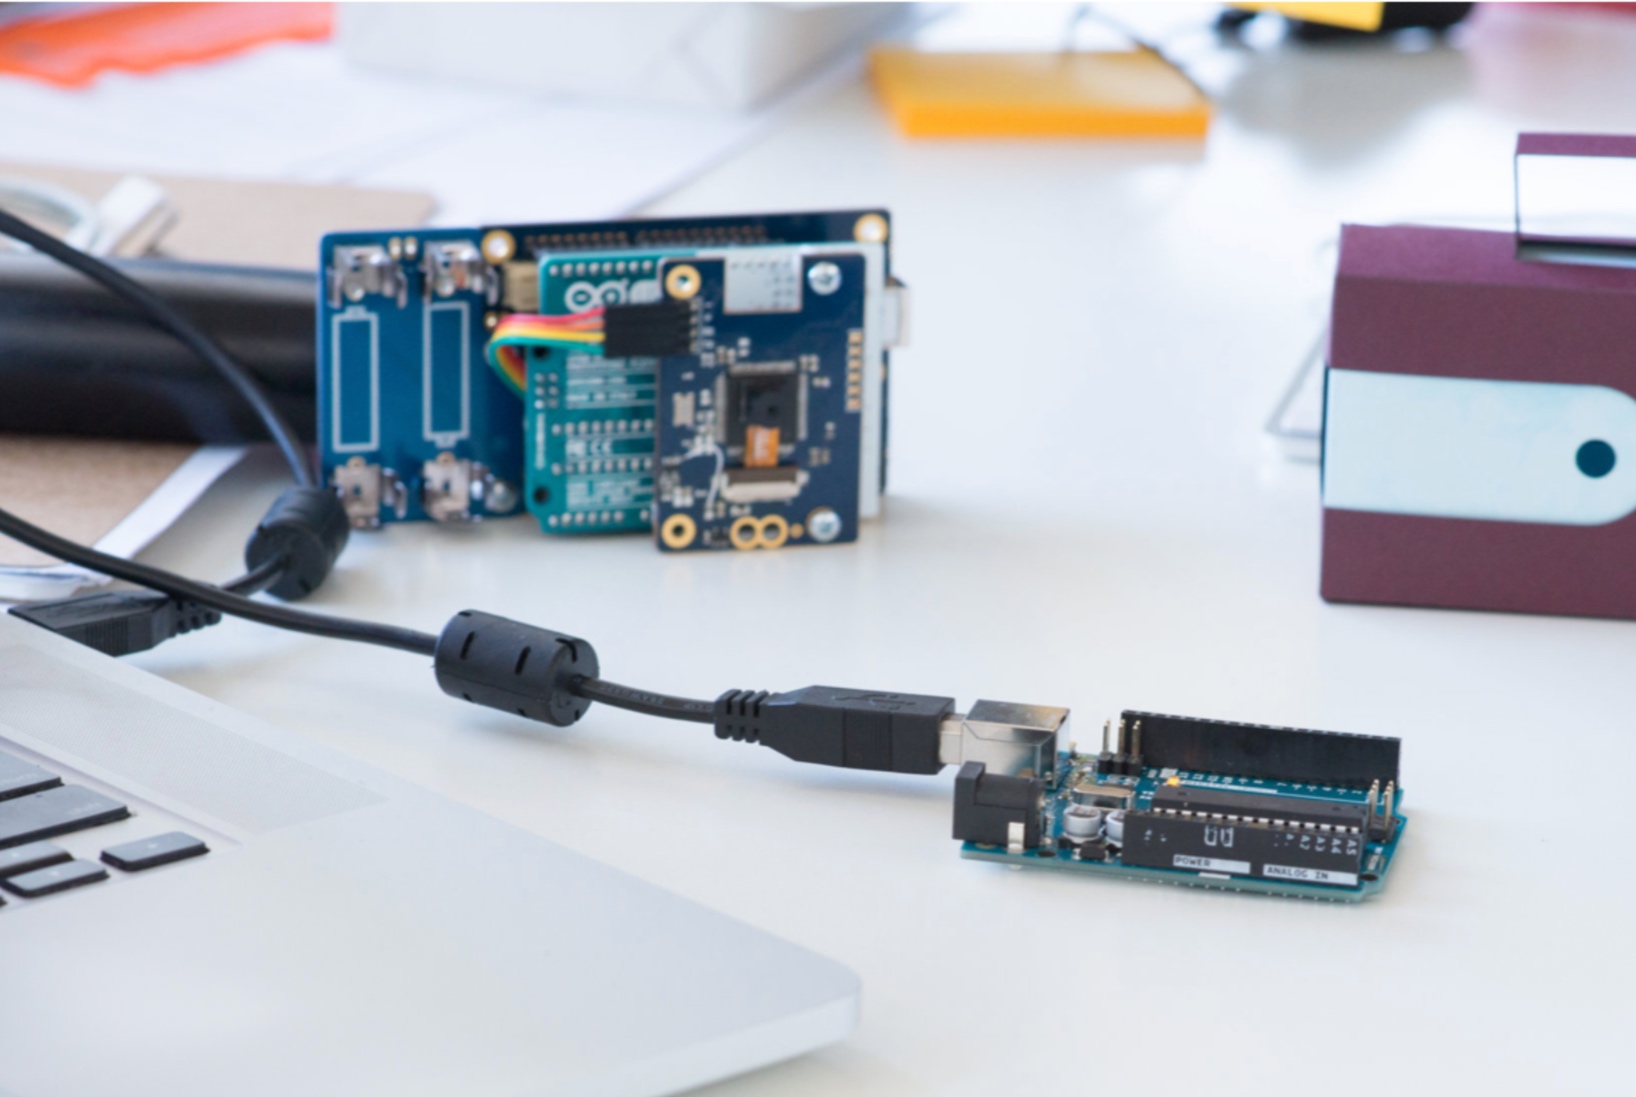
Check that the program compiles correctly by clicking on the tick sign on the top left of the window. It should say "Done compiling." At this point, plug in your Arduino into your computer with a USB cable. Click on Tools and make sure the option ‘Board: “Arduino / Genuino Uno”’ is selected as “Arduino / Genuino Uno”. Within the same menu make sure the port says “Arduino / Genuino Uno” as well. Click Upload (the button next to the tick sign you clicked earlier), and wait for the program to download onto the Arduino board.
Step 6
Now that the Arduino has the TaskCam code saved to it, return to the assembly instructions to start assembling your TaskCam. You can now unplug the Arduino from the cable.