VisionCam Tall
Specifications:
Camera Dimensions: 81 x 40 x 157 mm
Image resolution: 8-megapixel
Contents
Overview
List of Components
Making
How to use
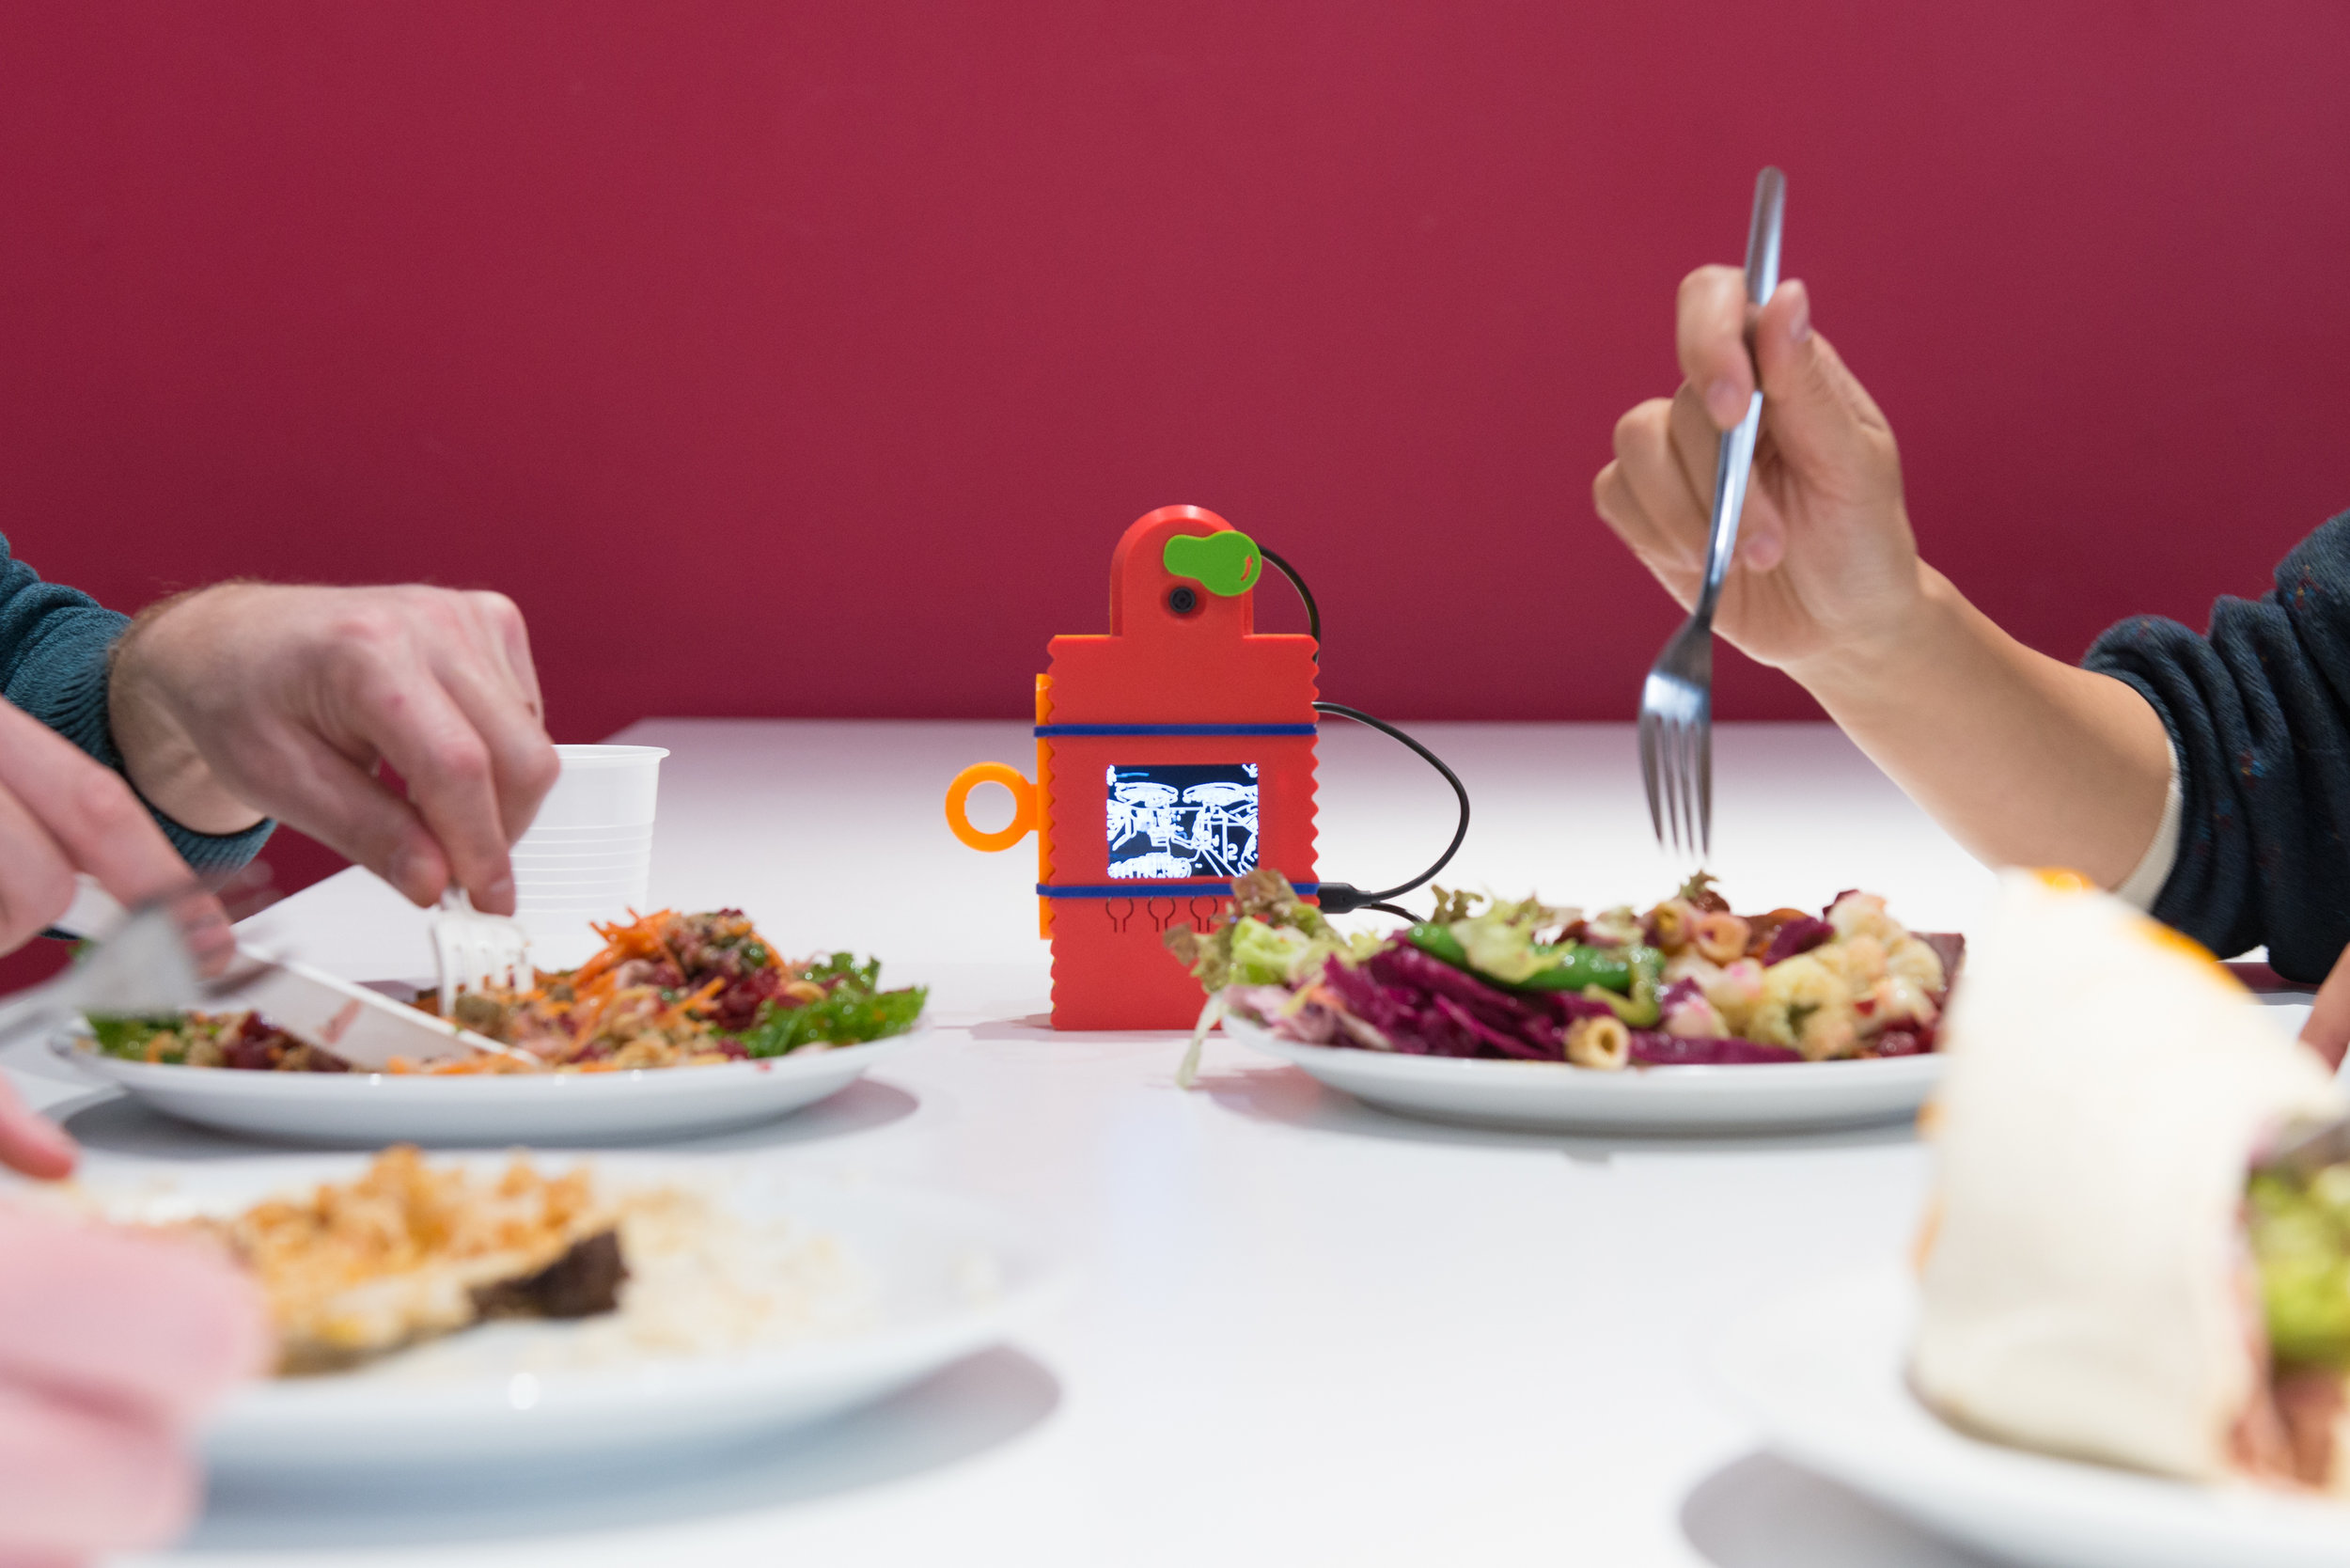
VisionCams offer the chance to capture long-term recordings of settings without invading privacy. Computer vision triggers and manipulates images, producing stop-action recordings that balance intrigue with insight.
VisionCams take images automatically. The default program takes time-lapse pictures depending on how much movement is detected in the scene and is activated by swivelling the lens cover open. A selection of other programs are also available from the VisionCam software page, each capturing and modifying images in different ways. This allows VisionCams to support a wide range of experimental uses.
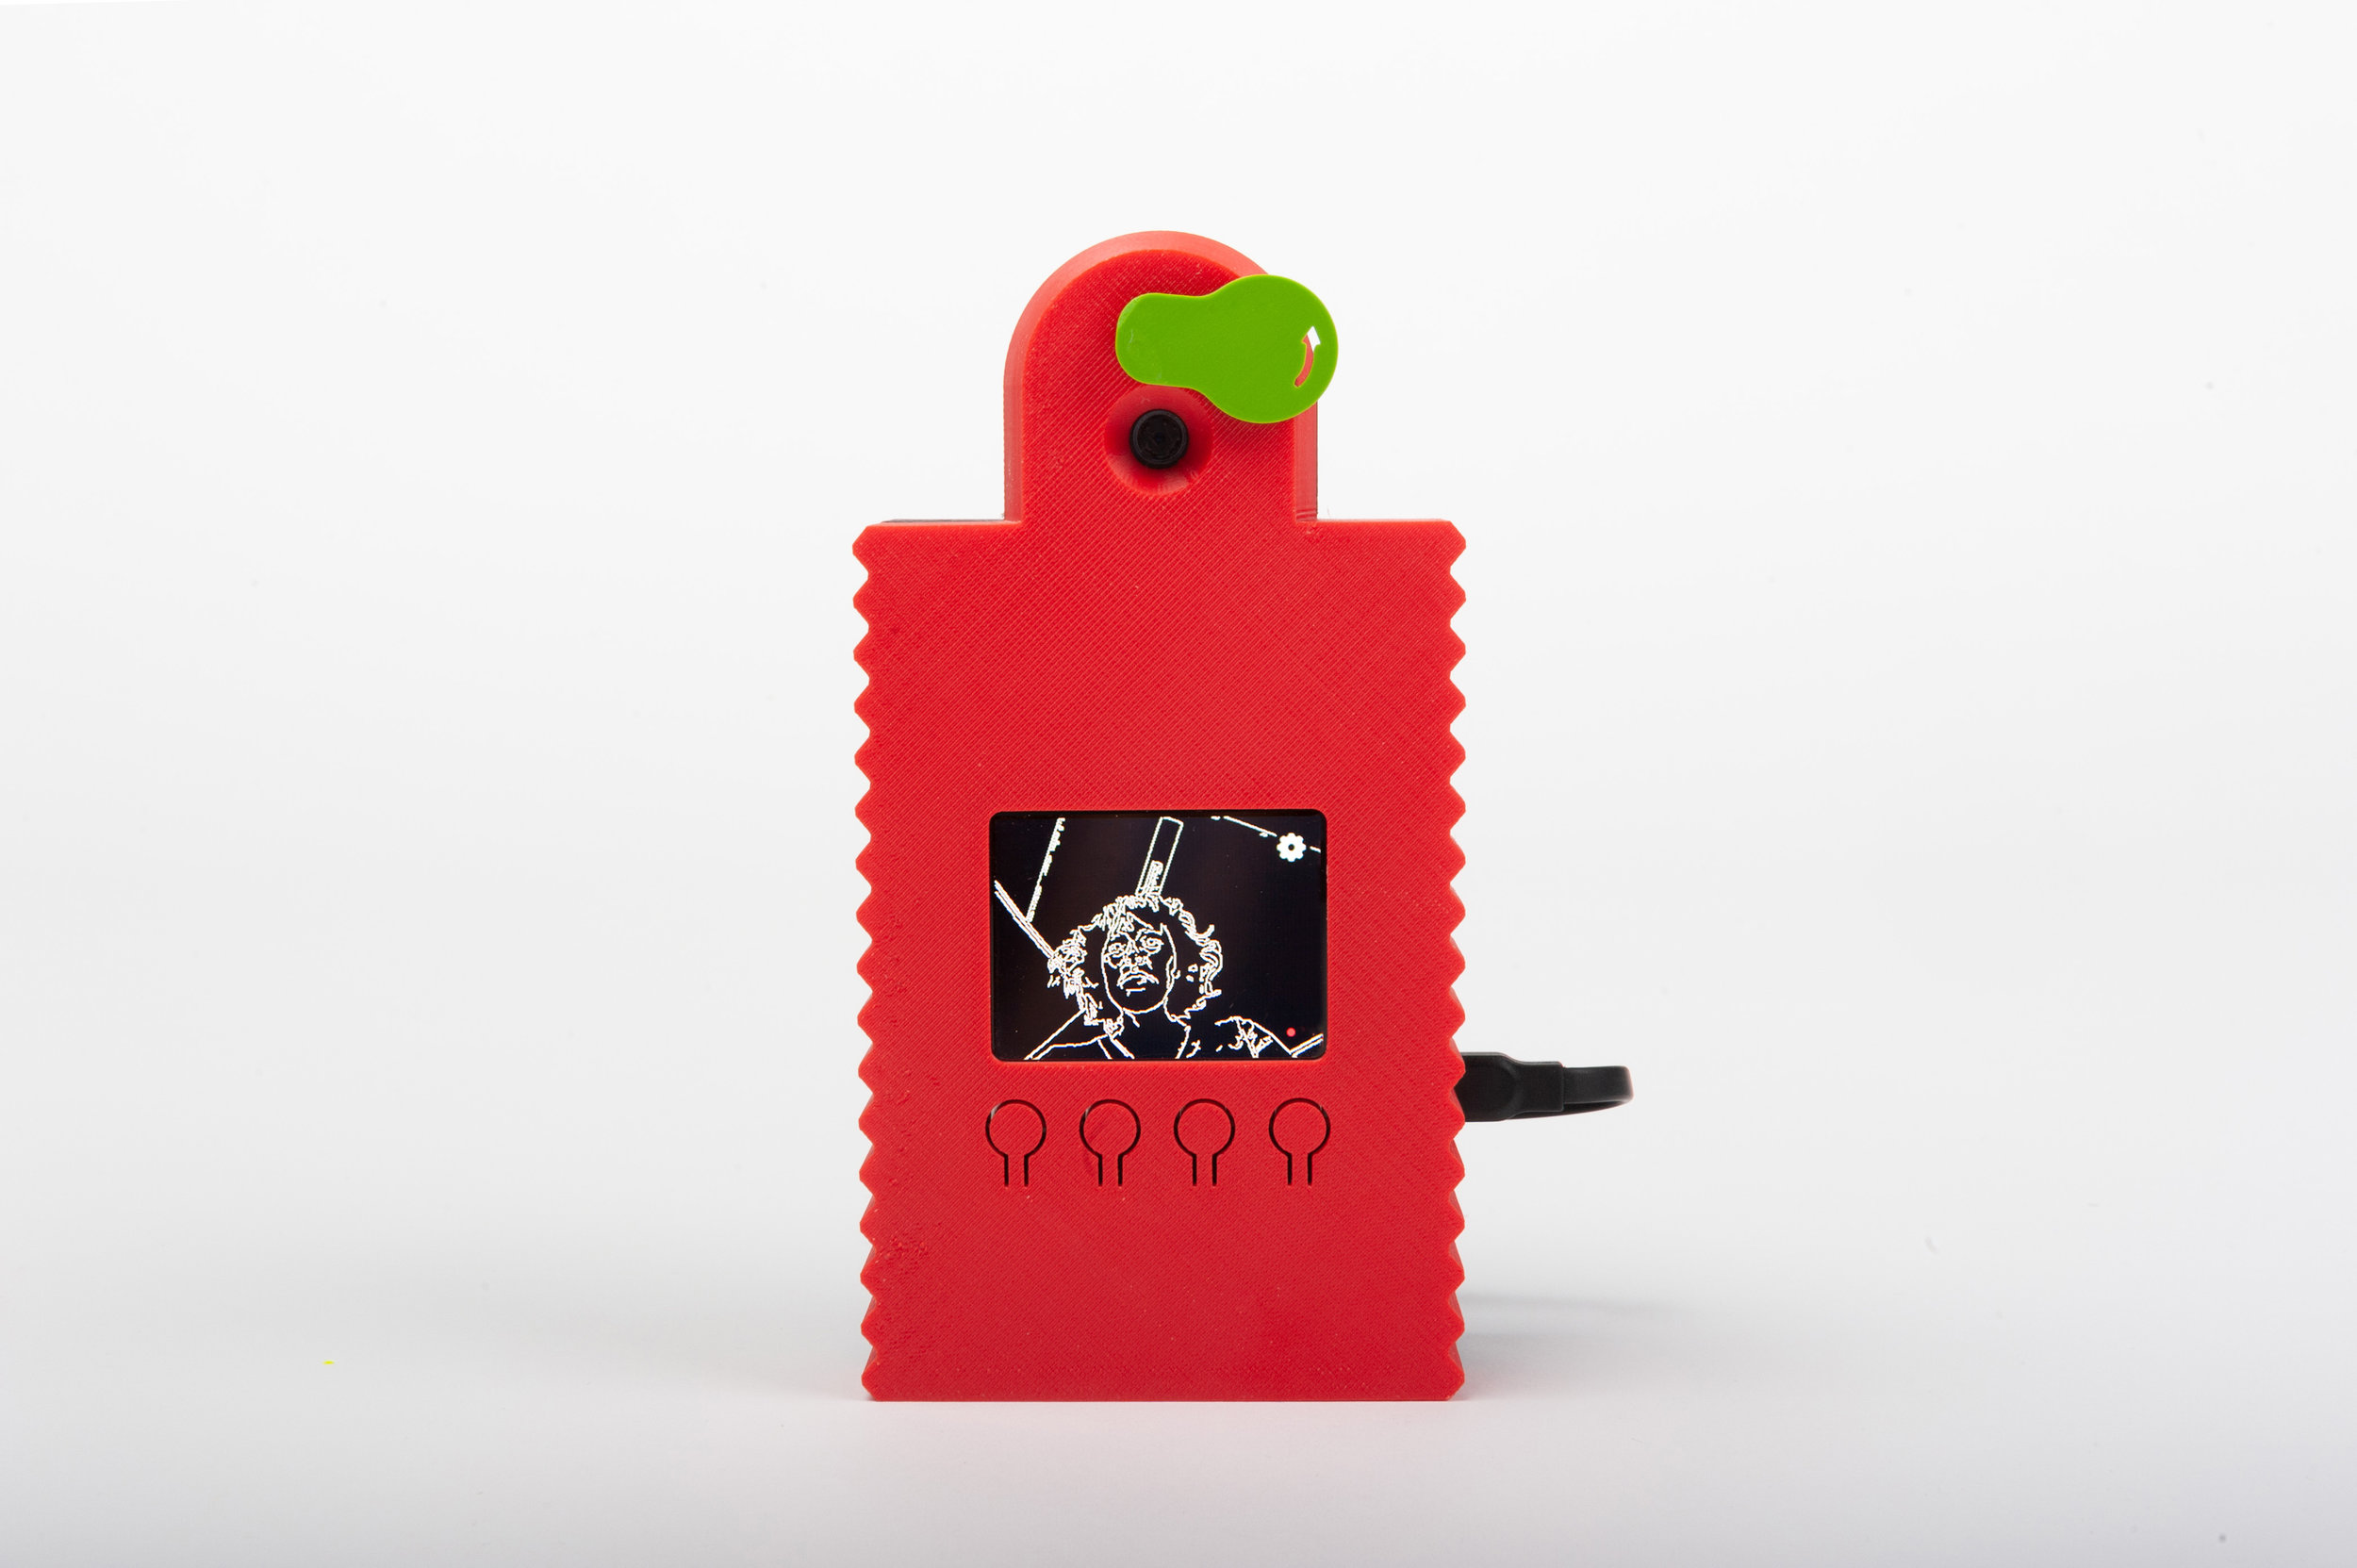
Preserving privacy is fundamental to VisionCams. For instance, the default programme saves and displays only the contours of scenes, producing images that are evocative without being invasive. VisionCam Tall is designed to be noticeable when left in place. The display is adjacent to the camera, so it can be seen while images are captured. It takes an image when motion is detected and displays a preview of what it has seen in the form of a looped stop-frame animation on screen. The camera can be left for hours to capture the rhythms and flows of its location, and stopped by closing the lens cover.
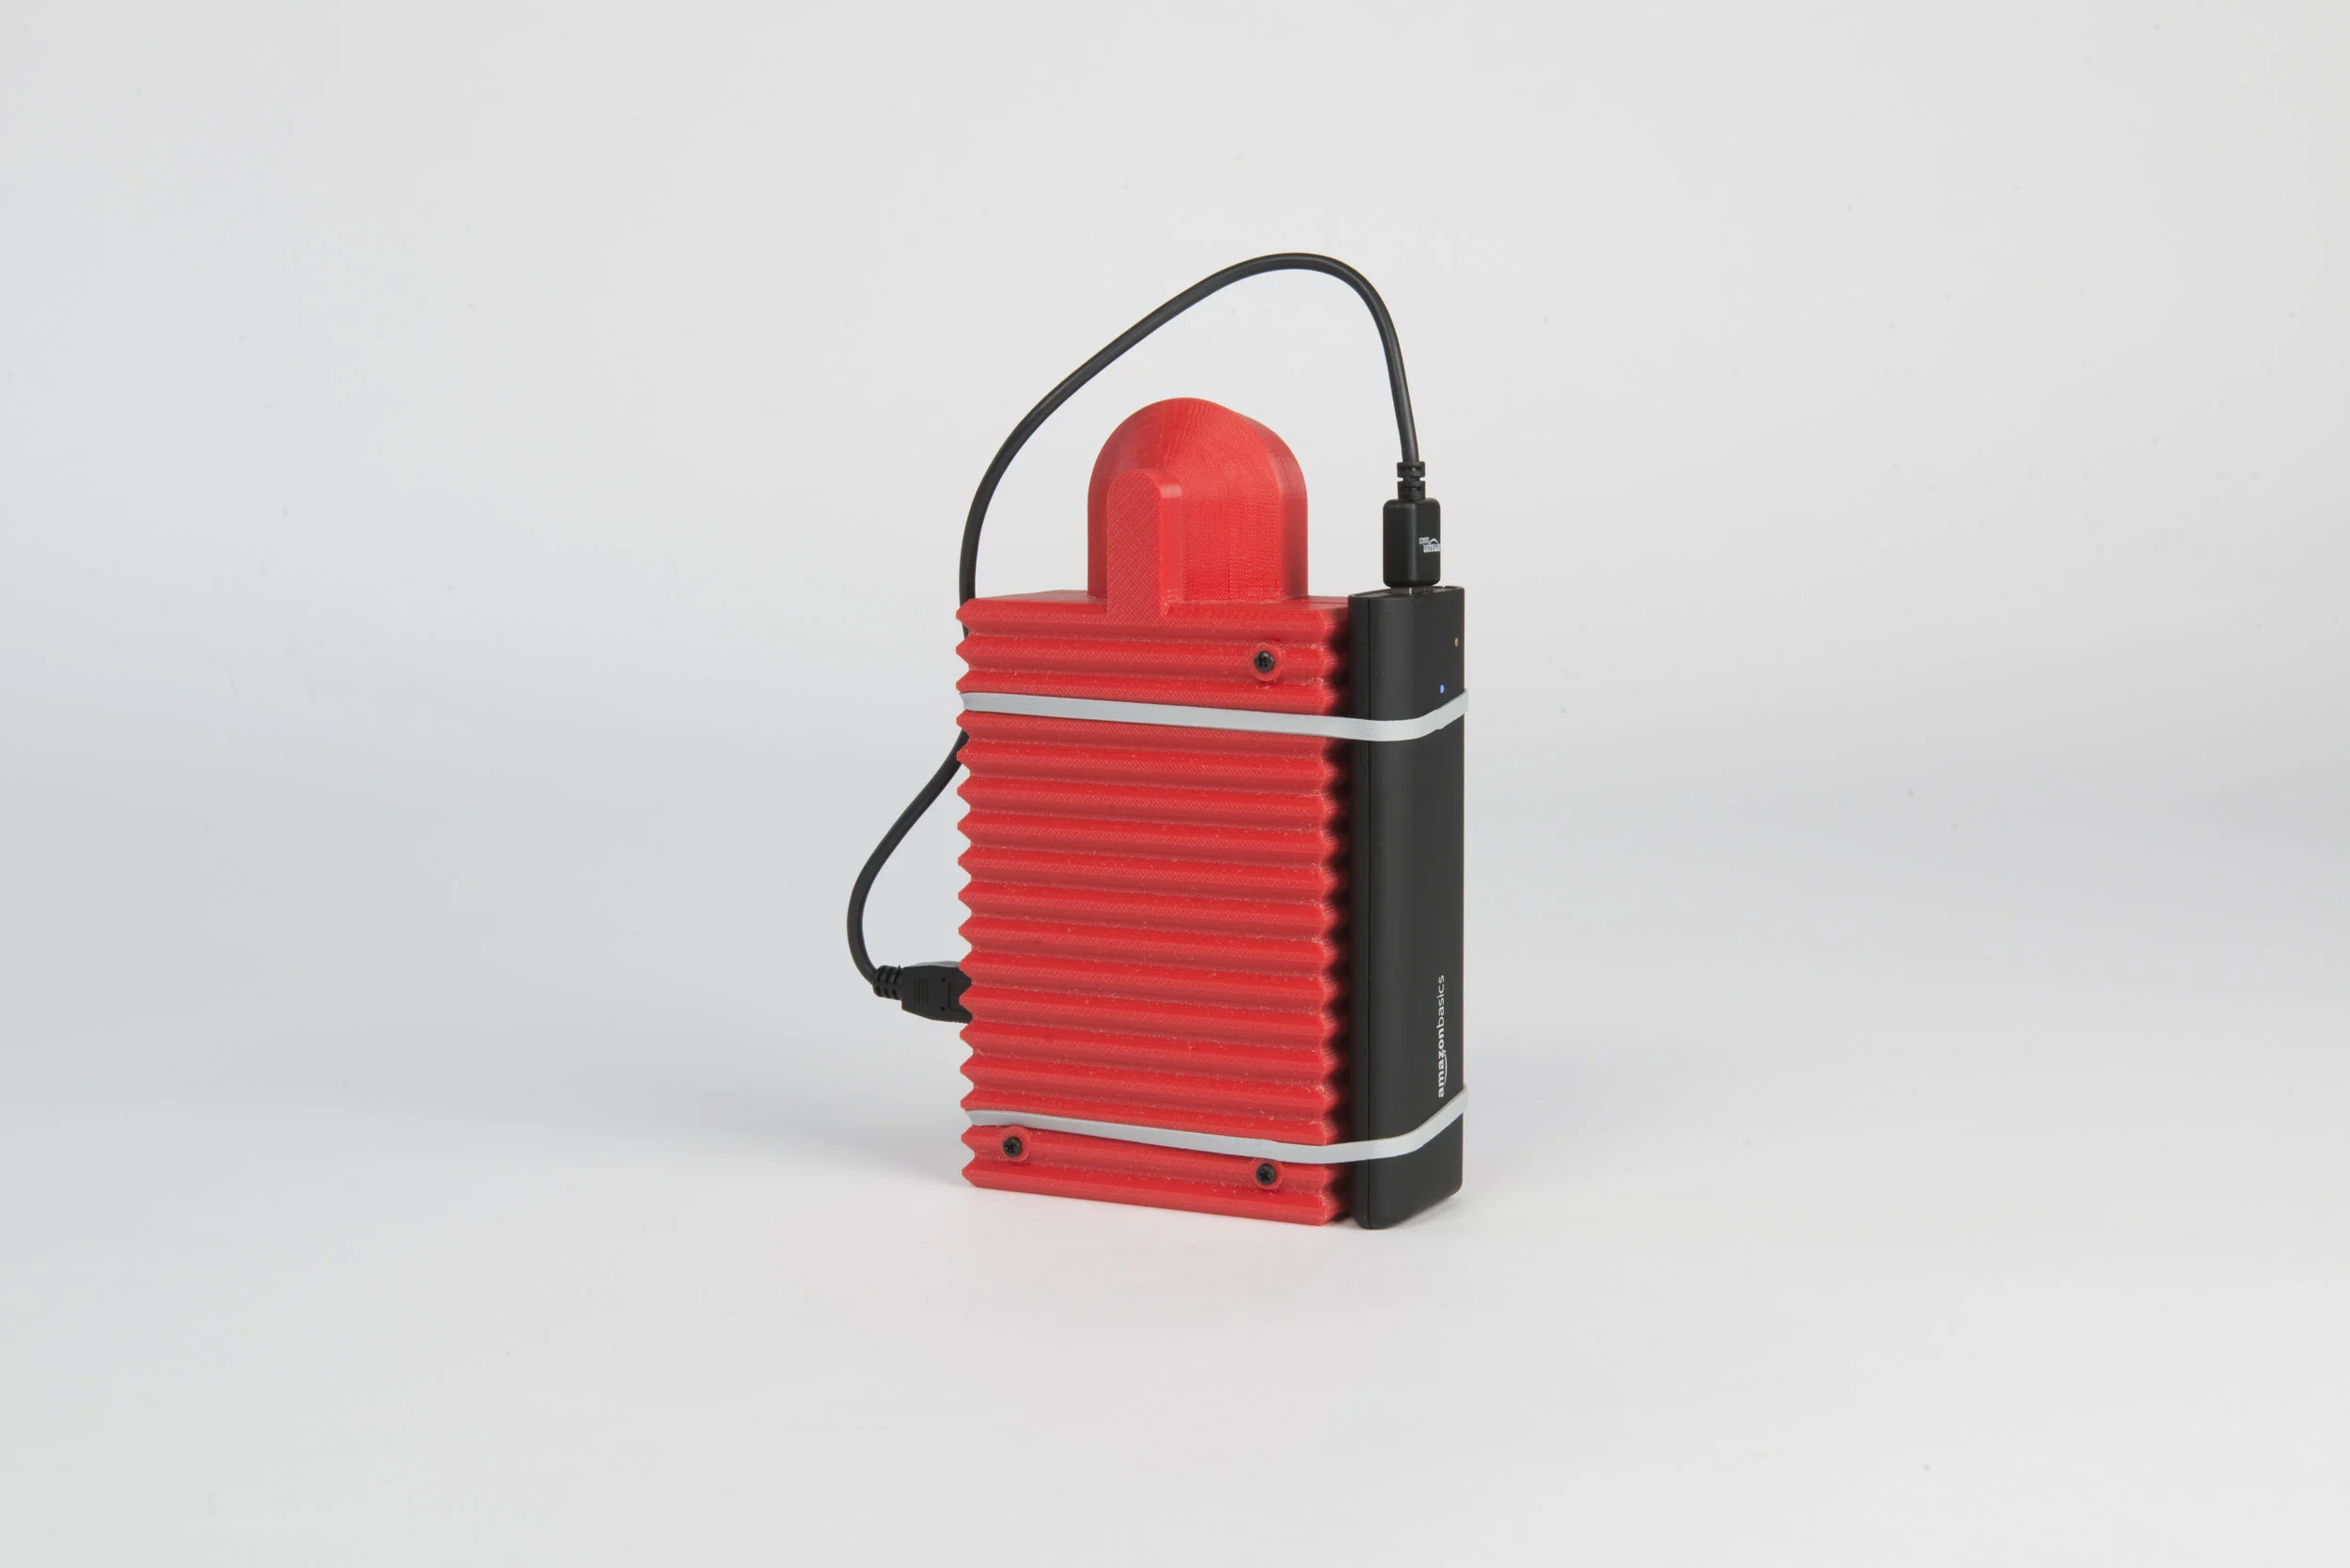
The casing for the VisionCam Tall can be printed on all 3D printers and has been optimised for printing without support material on machines such as an Ultimaker. This design differs from Compact VisionCam by using a custom PCB connector (that we call the TwistyHat) to rotate the screen 90° to the Raspberry Pi, creating a symmetrical form. The device’s off-the-shelf parts, including the custom PCB, can all be bought online. Both the Raspberry Pi operating system and the VisionCam software are available as a single disk image, and can be flashed to an SD card in one step. Powered via a USB port, it can be plugged into a mains adaptor or run for hours using a standard USB battery.
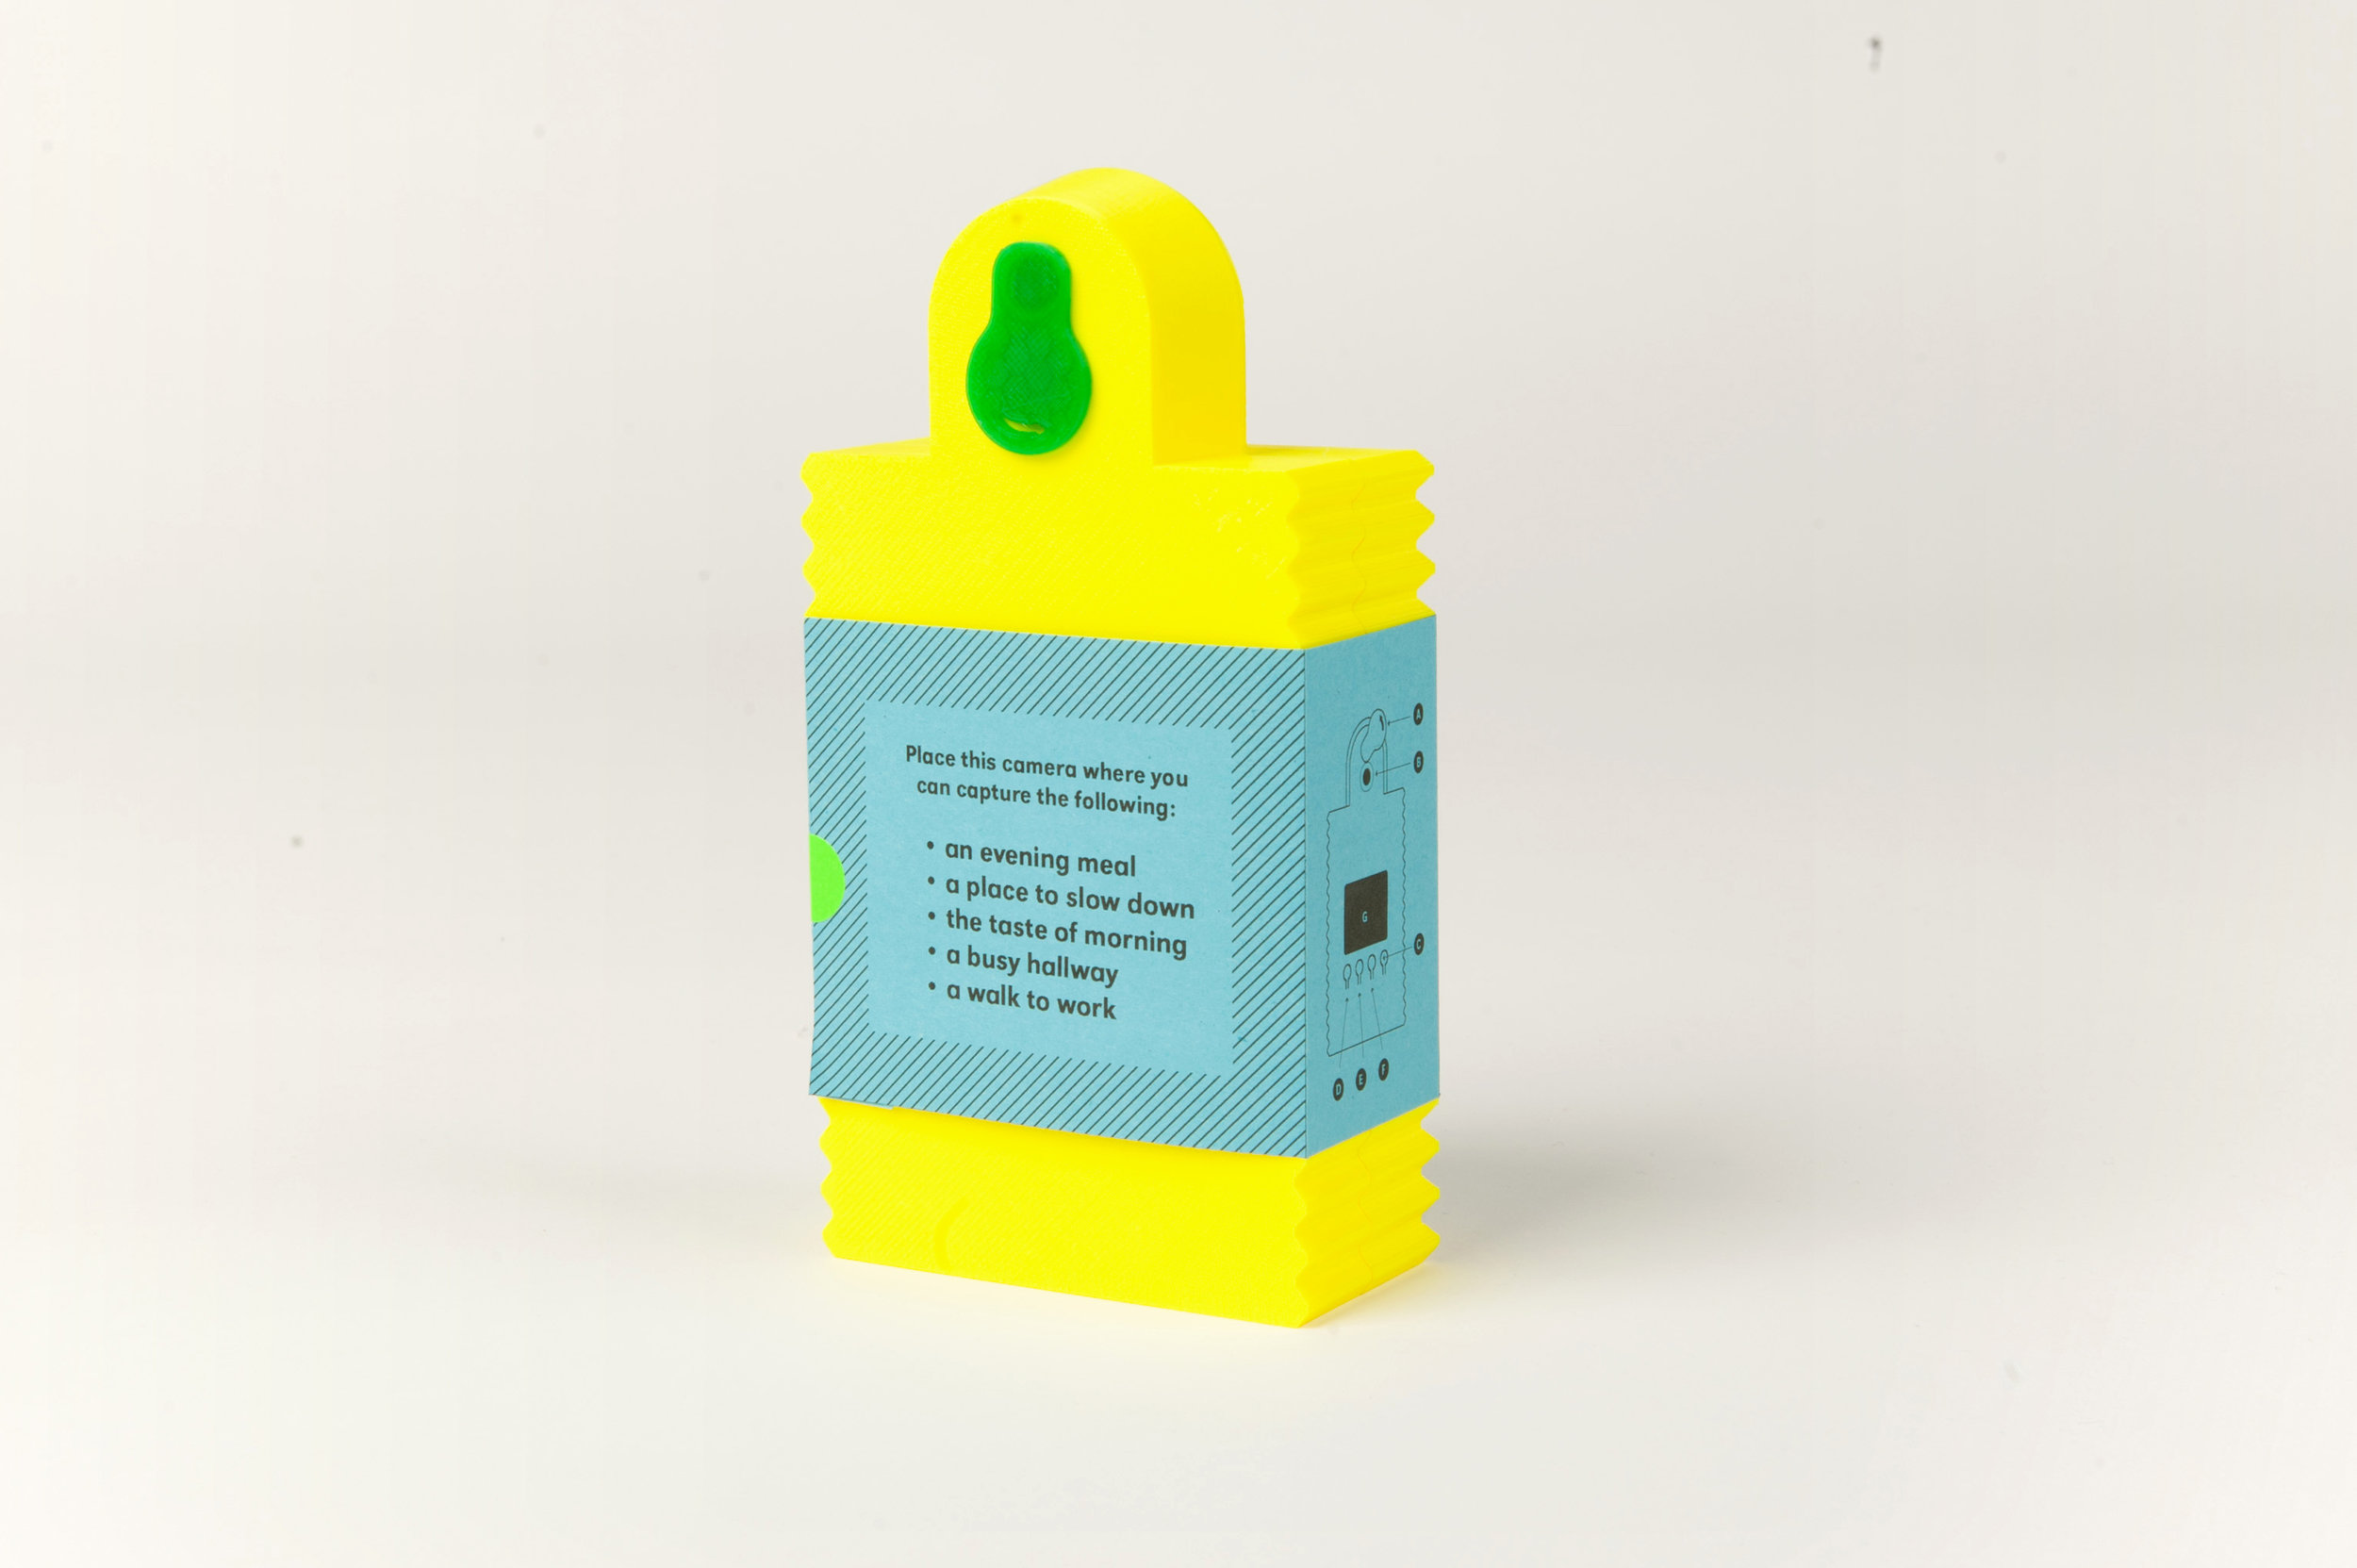
There is selection of 3D printable accessories that can be attached to the VisionCams to extend their physical functionality.

List of all the components to assemble the VisionCam
3D printed case (download files below)
Raspberry Pi Model 2 or 3
Adafruit PiTFT 2.2" HAT details
Raspberry Pi Camera module V2
TwistyHat board (rotates the screen 90° to the Pi) order PCB here
6 x No.2 6.4mm & 3 No.2 9.5mm self-tapping screws available here
Micro SD card
Micro USB cable for power
USB power supply or battery
Software
Cultural Probe task wrapper
A PDF template to create a specific Cultural Probe task wrapper
List of handy equipment
Small Phillips screwdriver (cross head)
3D printer
Download 3D Files
.stl files (for direct 3D printing) and .step (editable assembly) files
to view and download various file formats
VisionCam Tall, Fusion360

Making

Step 1 Push the lens cover into the front shell of the camera case.

Step 2 Order the TwistyHat PCB at OSHPark.com and solder or attach (if using solderless) headers as shown above.

Step 3 Secure the screen to the front panel with four of the 6.4mm screws.

Step 4 Plug the TwistyHat PCB into the camera.

Step 5 Connect camera module to the Raspberry Pi. Make sure to match the connectors of the camera ribbon cable match up to the to the connectors on the pi board and the camera. Note: The graphics on the camera ribbon cable may be on the other side than shown in the image.

Step 6 Fold the camera ribbon to make a ‘u-turn’. It will help to hold the camera and Raspberry Pi in position with the 3D printed case to plan how to fold the ribbon to fit it into the assembly.

Step 7 Plug the Raspberry Pi into the TwistyHat PCB.

Step 8 Screw the camera into the case using the two remaining 6.4mm screws..

Step 9
Copy the VisionCam disk image onto the micro SD Card using the instructions on the Software page.

Step 10 Plug the micro SD card into the Raspberry Pi.

Step 11 Close the camera case.

Step 12 Secure the case by inserting three 9.5mm screws into the back.

Step 13 Connect the micro USB cable into the cameras USB port.
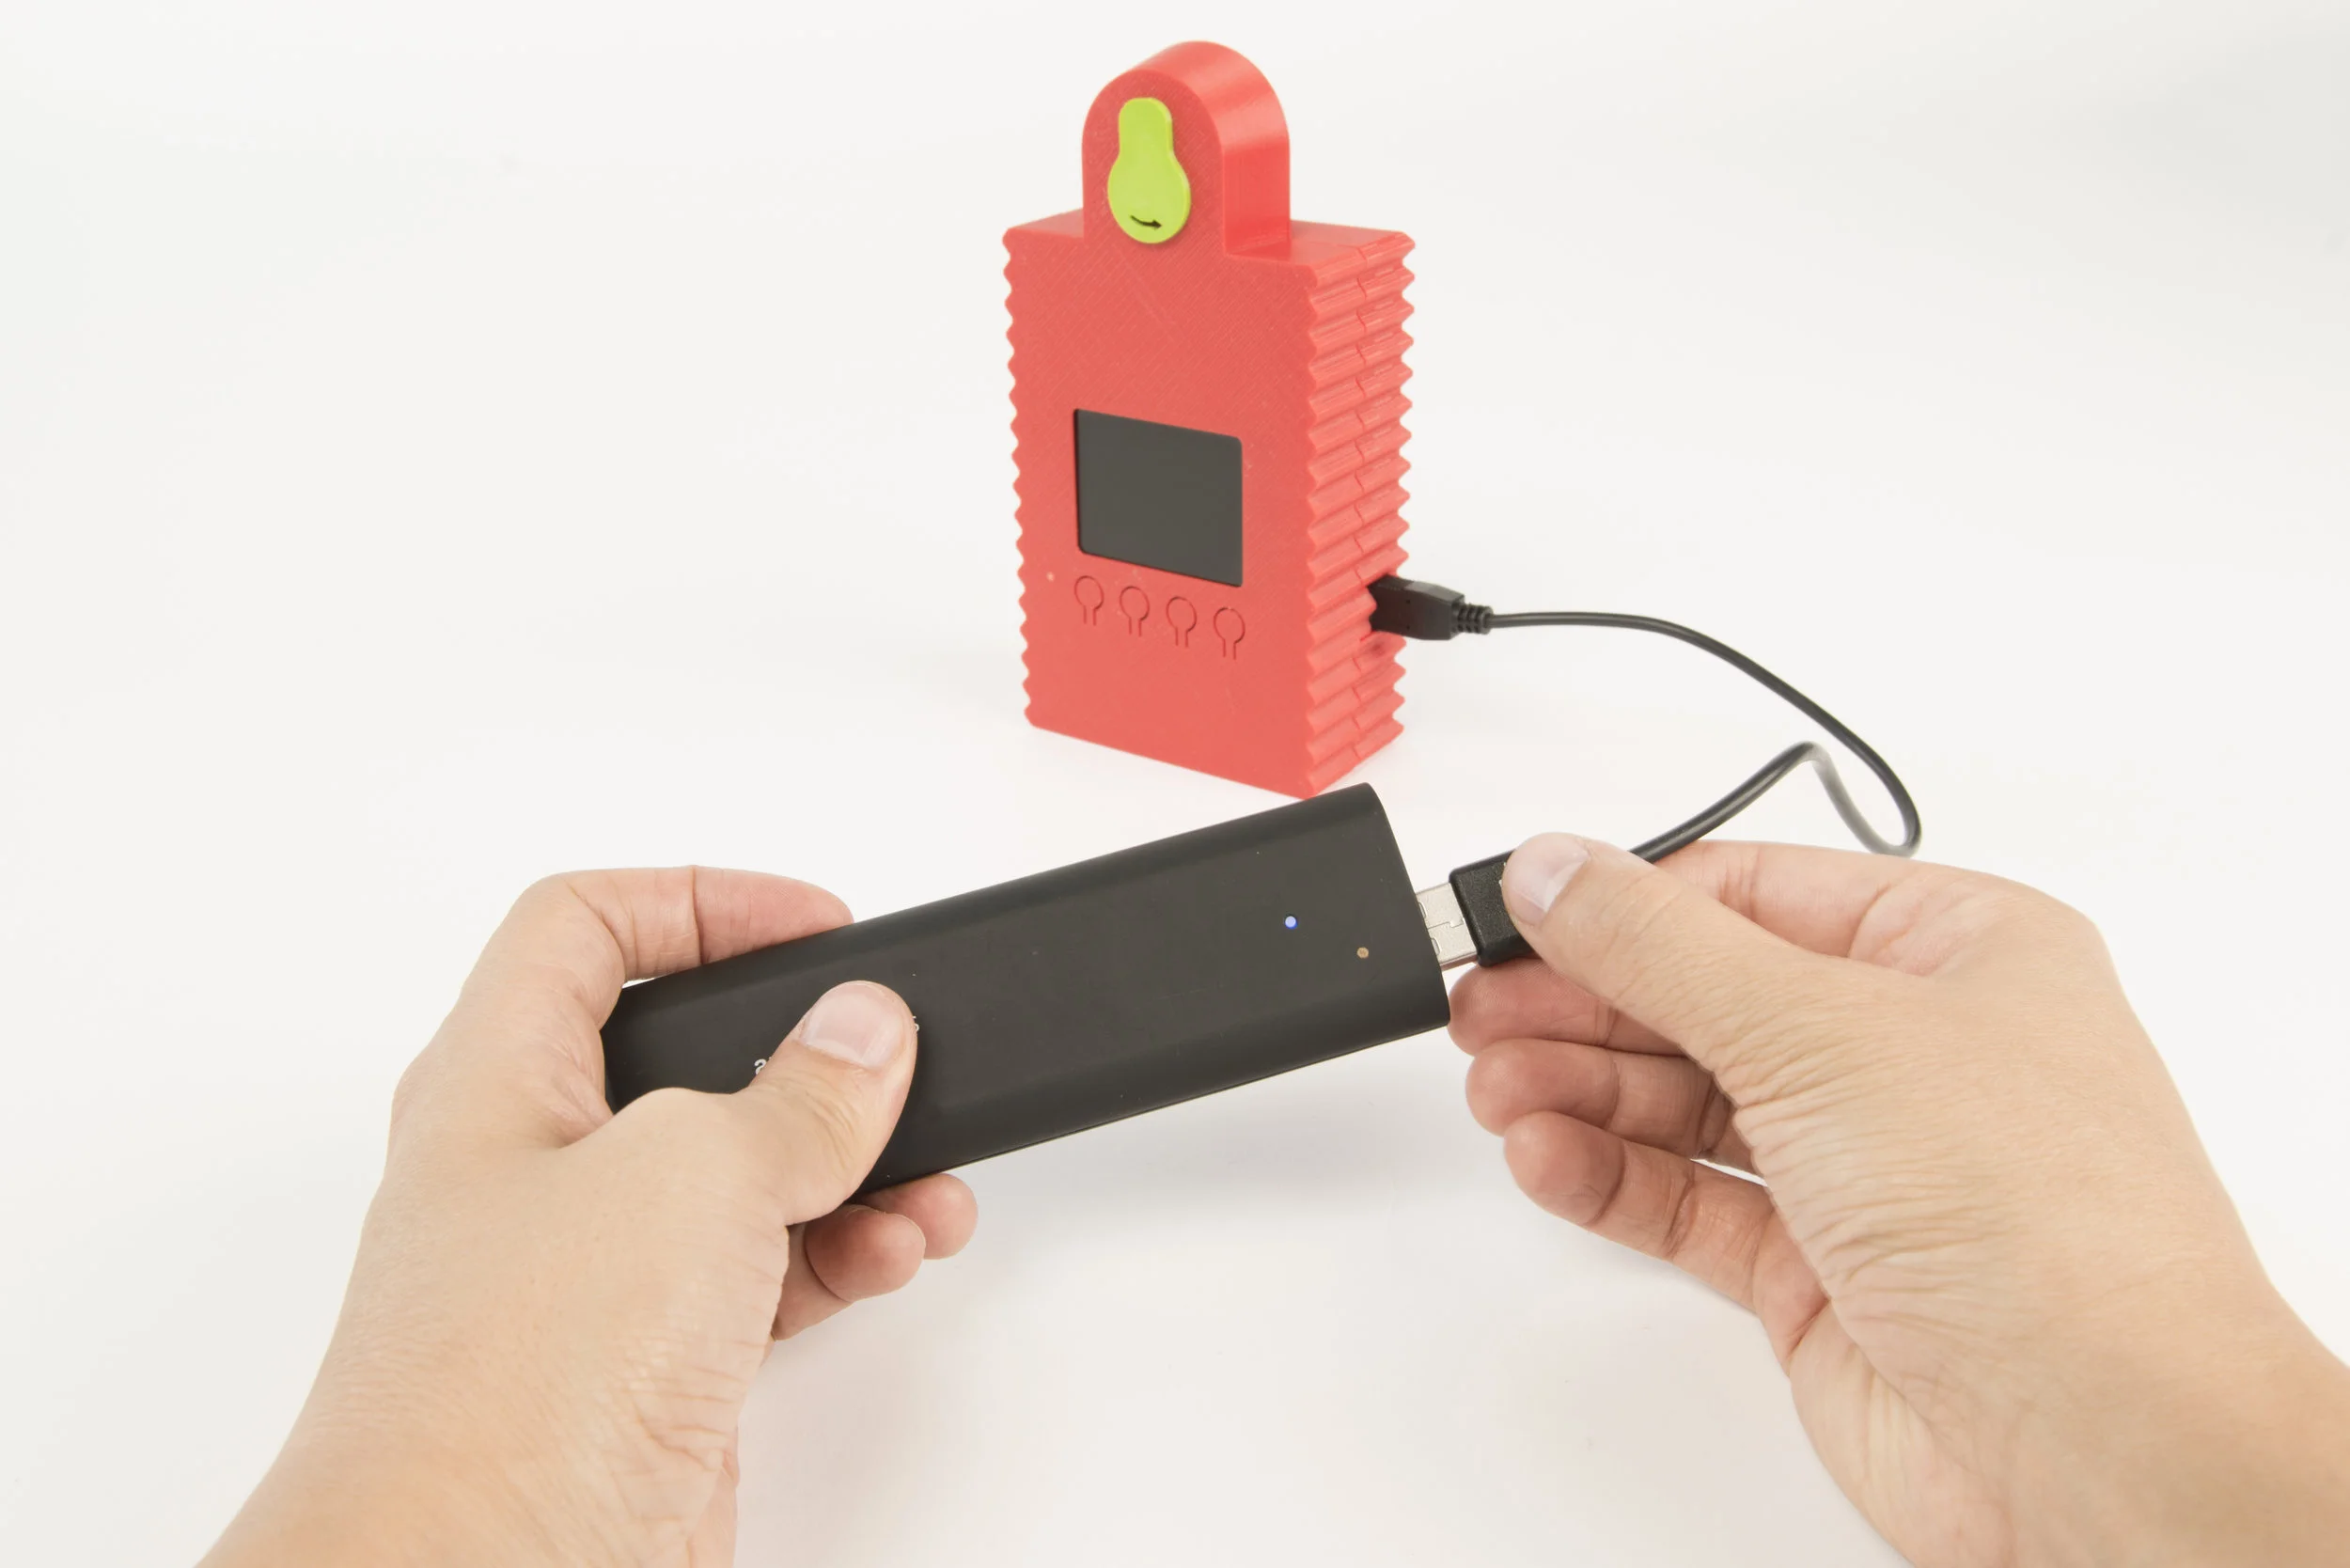
Step 14 Attach an external USB battery (or USB mains charger).
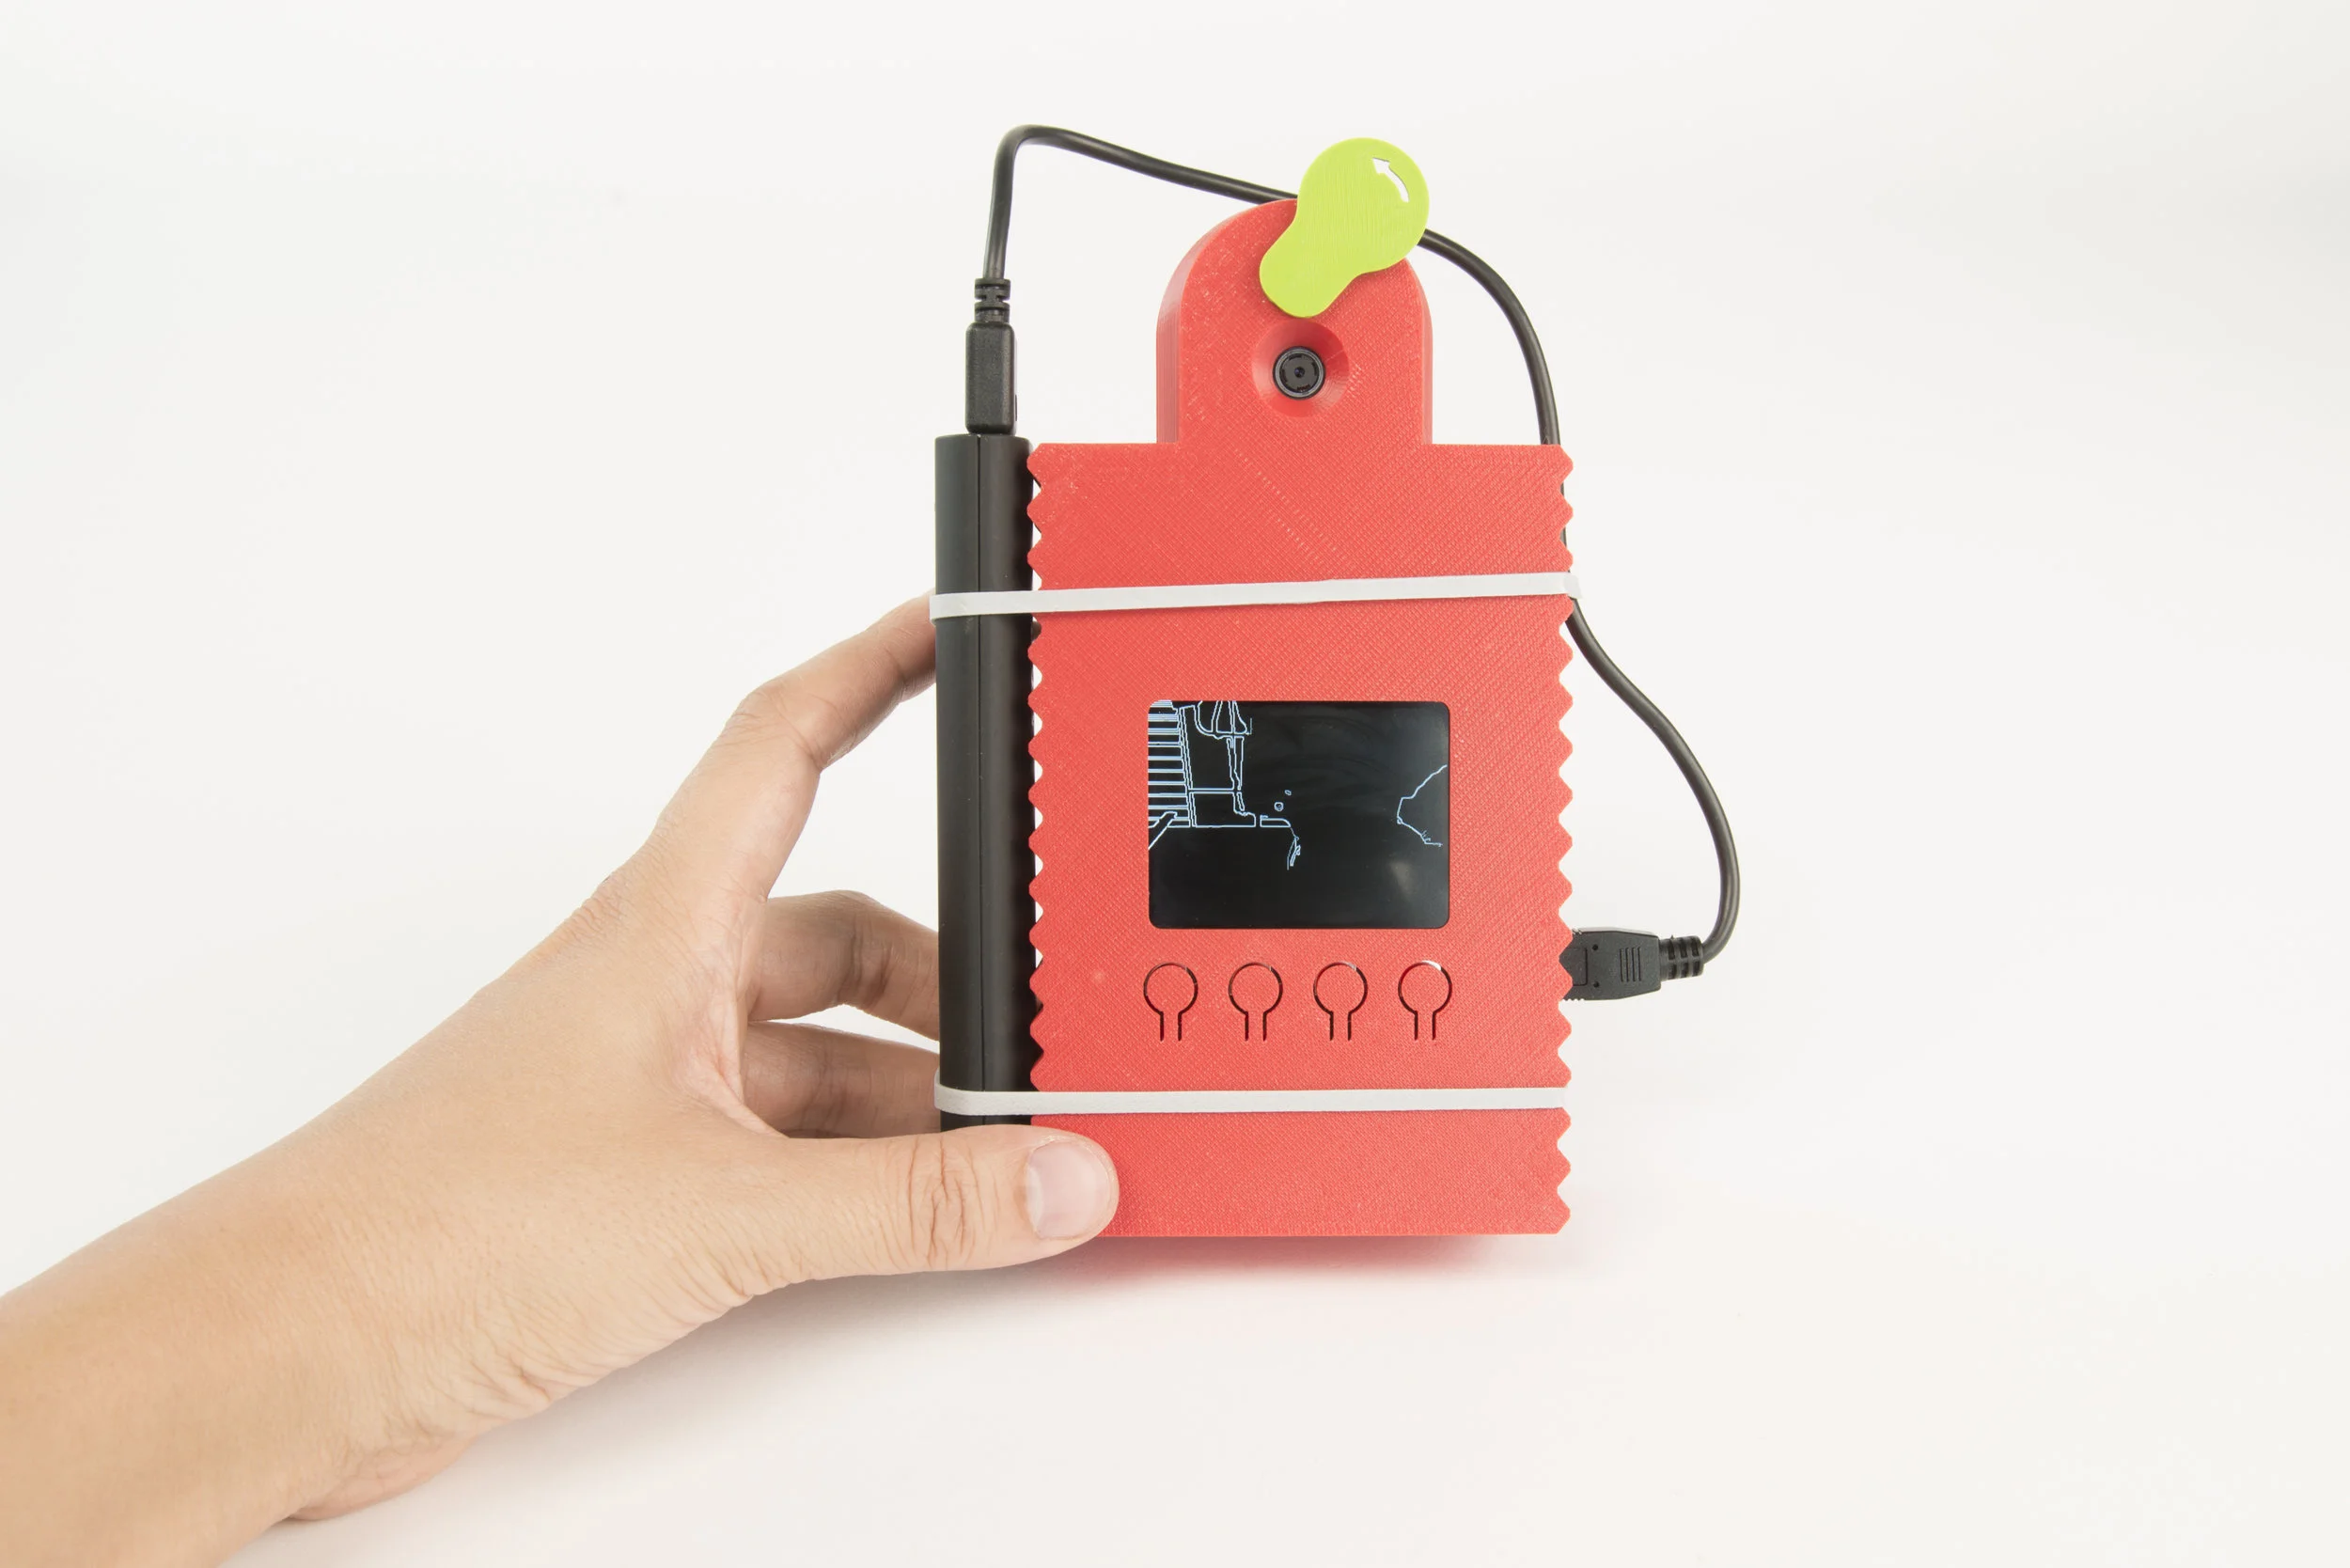
Optional Attach the battery to the camera with rubber bands. Use 3D printed accessories to position the camera.
How to use
Plug in a USB power supply or battery.
Wait the Raspberry Pi to boot up, the camera is ready to use when the animated icon of the lens cover is displayed on screen.
Open the lens cover by swivelling the left or right to begin recording.
The display will show a looped stop-frame animation on of what has been recorded.
To adjust the contrast lines, press the large button to the top right on the screen to enter a ‘settings’ mode which shows a live preview. Press the button on the far left the screen for fewer lines, press the button immediately to the right of this for default lines, and button to the right of this again for more lines. The live preview / settings mode will time out after a short period or can be cancelled at any time by pressing the large button to the top right on the screen again.
Record for as long as you like (note that the camera will stop recording if it is very dark).
Close the lens cover to stop recording.
Download the images from your camera
For instructions on how to download the images and the compiled stop-frame videos from the VisionCam, please head over to the Software page.